My name is Nat Wallen. I am a Realtor in Charleston SC. I have been using Video tours in my real estate business since 2007. I stumbled into it on accident almost, when I sold one of the recruiters for Boeing a home. Knowing that 15,000 new employees were on their way to my city, I asked myself the question… “what can i do to provide value before they get here?”
My first tour was pretty terrible, but once buyers started calling me saying… “I watched your Mt Pleasant tour last night, will you help me find a home?”
Well, I was hooked and quickly began spending time building a small catalog of tours…
It was not until I made my most recent Charleston Overview Video Tour that I finally realized that bringing value was scalable and a tool I could use in many different ways.
Local insight is something that Zillow cannot provide. Yes they have all the pictures of the pretty houses out there, but they do not provide local insight that my tours provide.
In this blog post, I am going to give you the step by step plan to building your own hyper local video tour…
Here is the video tour I use for Charleston, SC. It brings warm buyers that want to work with me, and makes converting leads effortless.
Below is a Step By Step Guide to Helping Your Students Create Their Own Google Earth Video Tour.
Feel free to link this post to your site and share with your team or followers.
You will need the following:
- Google Earth Free Software – Google Earth is the next level beyond Google Maps. It is essentially a 3d rendering of the earth provided by Google that gives people all over the world the ability to create very robust tours and share them with everyone on the planet.
- Screenflow or Camtasia – Screenflow is a screen capture software created specifically for Mac computers. Camtasia is the PC equivalent, and gives you the ability to record your computer screen and yourself (if you choose), using your webcam.
- LeadPages – This is optional, but if you want to create Facebook ads that target buyers, then you will want to capture their contact information.
- Gmail Account – You will want to obtain one of these to create your YouTube channel. You can also use the free real estate crm offered on this page if you have a gmail account.
- Knowledge of Your Community – The real value offer here is the local insight and knowledge you have surrounding your community.
- Becoming very familiar with your area is important of you are not already.
- Picture yourself moving to a new city.
- What would you want to know? Write it down on a legal pad.
Creating a Google Earth Video Tour and launching it into YouTube builds credibility with consumers, and provides local knowledge. It also breaks down barriers by showcasing your style and demeanor. - Nat W.
Part 1 of 4
NavIGATING GOOGLE EARTH:
Google Earth is fairly easy to use. These instructions will include limited functionality based on the needs of the tools to build the Google Earth Video Tour.
- Add a New Folder – This acts like any folder on your computer by nesting files into Google Earth. This is important because it will turn into the navigation for your tour when you make the screencast.
- Use the Zoom Tool – Use the zoom tool to get comfortable navigating the system.
- Type the Starting Address – This is where your tour will kick off. This is also a great way to show your clients where your office is located.
- Click Search – This will get Google Earth to start navigating it’s way to your suggested destination.
- Zoom in and Add a Placemark – Adding placemarks will begin to formulate your pathway and ultimately become the canvas for your tour. Choose your place marks carefully and begin to think if these would be easily accessible to obtain nice photography of each location. (layering in both photography and video makes the user experience more enjoyable)
- Right Click on the Push Pin to “View” then “Snapshot” – By changing your view then using the snapshot tool, you can begin to create a unique experience of flying around within the Google Earth app and can showcase your community from unique perspectives.
- Use the Rotate Tool – Try using this tool to create different shot angles. This affects how the “fly-through” will display and is a great way to enhance the user experience.
- Utilize the “Street View” Tool – This takes you down to street level and will simulate driving in a car. By going to street level you can change the flow and make the storyboard more interesting. This is also a good way to enter into a nice photograph or video b-roll insert.
- Example of “Street View” – This is what street view looks like. It is easy to get lost in street view, so be careful not to progress too far forward down the street with your mouse. This will cause blurriness and will also slow the video frame rate if your computer graphics card and processing power is not significantly upgraded.
- Add Another Placemark” – Adding placemarks is important because it gives your pathway structure and prevents you from just flying all over the place trying to showcase your city. This this part through and when adding placemarks, start thinking about what you will say about each stop.
- Take Another Snapshot – You can see that this is the general workflow until you have completed your route. Make sure to keep it interesting, using different angles and views to make the experience more memorable.
- Notice the Stops – By adding multiple stops and taking snapshot photos of each, your list of stops begins to build in the folder system in the left column. This is the route you will click through when filming your tour.
- Rinse and Repeat – The key to the tour is to provide as much value as possible from a distance. This takes planning and time. By taking a methodical approach and creating a robust tour that shows off the best aspects of your city, you are well on your way to creating an experience that buyers will appreciate while building rapport and trust with your target audience.

Part 2 of 4
THE AUDIO NEEDS TO BE LISTENABLE
Audio is often overlooked as an unimportant variable. This is one of the most important aspects. If the mic is weak, or you can hear a ceiling fan in the background, or anything other than really clear sound it downgrades your production significantly.
- Invest in a Good Microphone – You can choose either a shotgun microphone, which records a very specific tunnel of sound and is good if you have a noisy environment, or a regular cardioid microphone. The two options below I have purchased on Amazon and both I am very happy with.


- Invest in a Pre-Amp such as the Zoom H4N – This is not required if you get the Dynamic mic that connects to your computer directly, but might be worth getting if you plan to make videos where you are interviewing someone in the field. The benefit of using the first shotgun mic is if you are in a loud space and you want to minimize background noise, and if you are on camera… the shotgun mic can be placed off camera and out of view. (the Zoom H4N is slightly more complicated of a setup, but not terribly difficult).

A NOTE ABOUT WEBCAMS
If your laptop does not have a webcam, then it might be time for a new computer… but, there may be some value in not being onscreen too much. I was onscreen quite a bit in my first few video tours and feedback from consumers was that my floating head was a distraction.
I changed my approach at that point and developed a tour with a teleprompter. It gave me the chance to script out exactly what I was going to say and then my process was to weave myself in and out out of view (see the video example above).
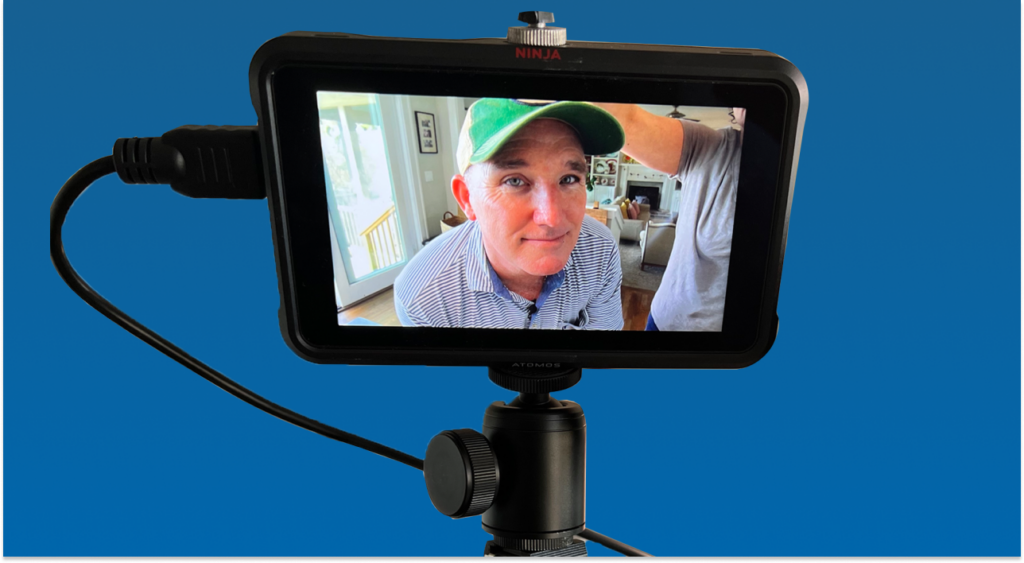
If you do choose to be a part of the video, then below is an example of a webcam I bought for a wider view than my laptop could provide.

Part 3 of 4
INSERT YOURSELF TO BUILD RAPPORT
I know you are probably thinking right now… wow, this looks like a lot of work. And yes, it may seem like a project but once you create this for your market, then it becomes an ASSET to your business.
Consumers think they already have everything they need with Zillow and Redfin and the other corporations that threaten our value. By creating a tour you can show consumers that they need your local insight to make the right decision. There is no better way to be found than to start with helping people before they meet you.
Creating a Google Earth Video Tour and launching it into YouTube builds credibility with consumers, and provides local knowledge. It also breaks down barriers by showcasing your style and demeanor. - Nat W.
CONSIDER THE BENEFITS
- You can spend a week putting together a comprehensive tour of your community and then rest easy knowing that you are scaling your efforts and building rapport.
- You can set yourself apart from your competition and get buyers to choose to work with you because of the value you are offering up front.
- YouTube is free and you can build a series of evergreen videos that constantly work to bring in new business.